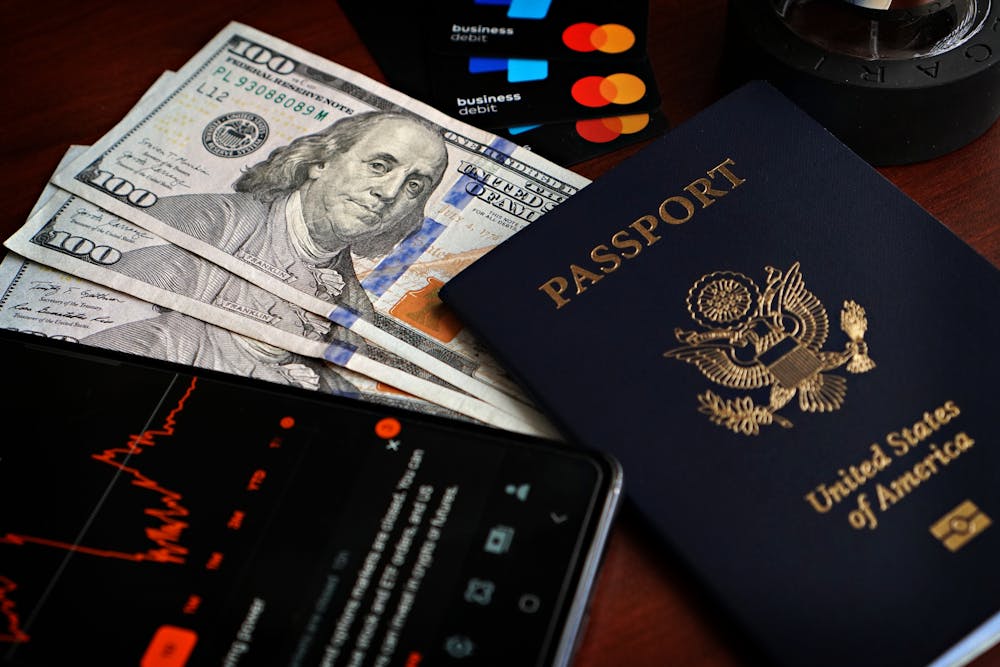
Planning a trip abroad? Yeah, the paperwork—especially travel visas—can sneak up on you. It’s easy to forget until the last minute, but skipping it could ruin your whole trip.
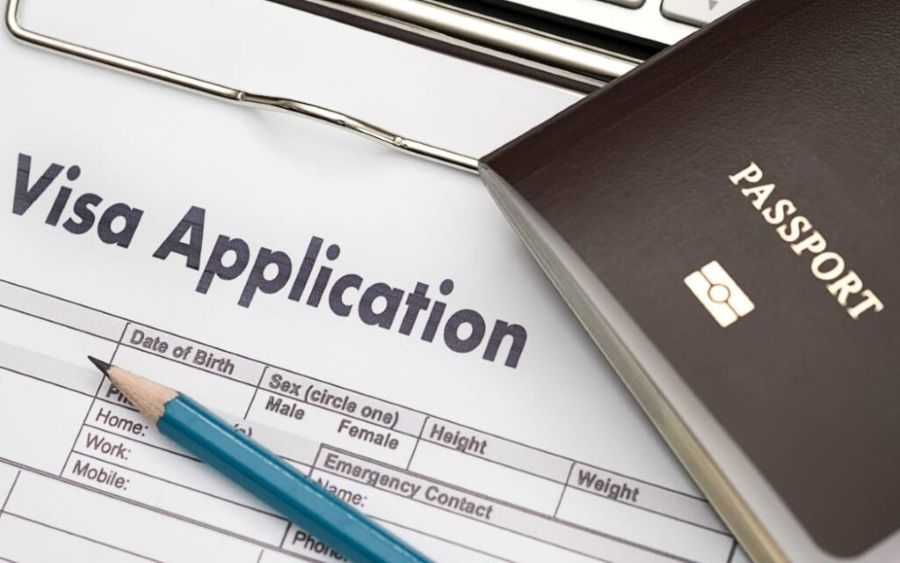
If you’re applying for a travel visa, you’ll usually fill out an online form, gather documents like your passport and photos, and sometimes book an interview at the embassy or consulate of your destination.
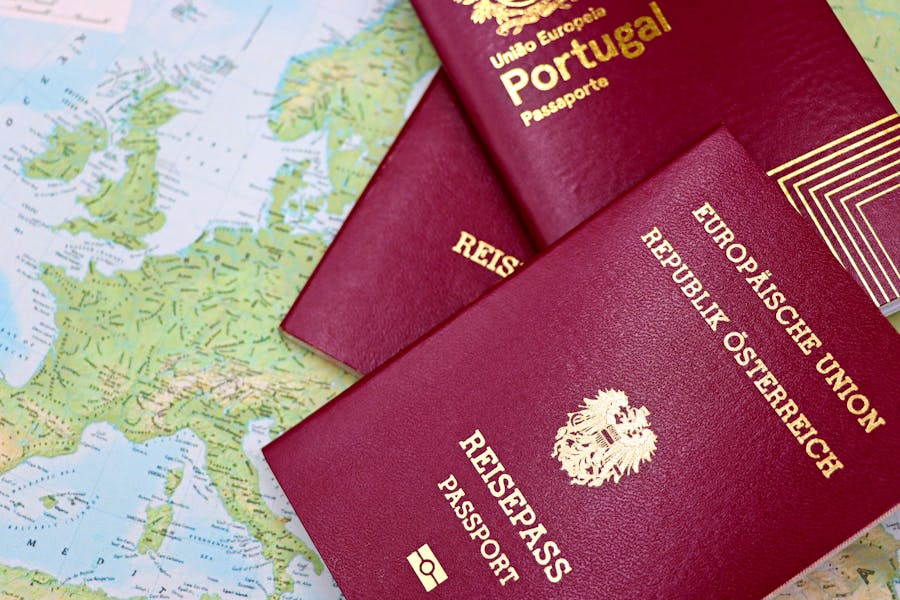
Visa application steps change depending on where you’re headed, so honestly, you should double-check your destination’s rules. Most countries have their own websites with step-by-step guides.
You’ll almost always need a passport that’s valid for at least six months after your travel dates, proof of where you’re going, and sometimes evidence you can pay your way.
Key Takeaways
- Check visa requirements early; processing times can be anywhere from a few days to several months.
- Gather essentials: valid passport, application form, photos, and proof of your travel purpose.
- If you need an interview, prep by reviewing your application and be ready to explain your travel plans.
Understanding Travel Visas
A travel visa gives you official permission to enter a foreign country for a specific reason and time. Getting the right visa matters, whether you’re traveling for fun, business, or just passing through.
Visa Requirements
Before you even start your application, figure out which documents you need. Most countries ask for:
- A valid passport (usually six months past your stay)
- Completed visa application form
- Recent passport-style photos
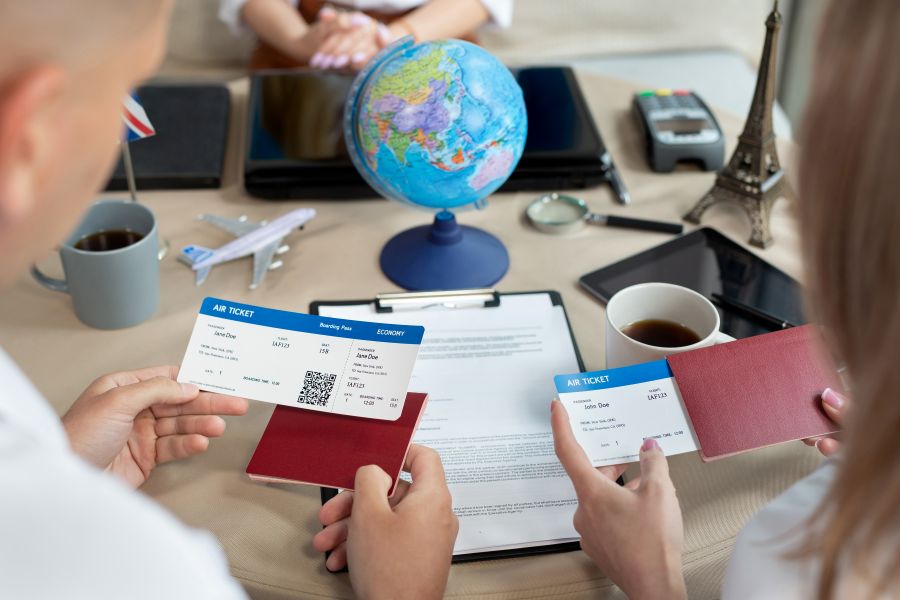
- Proof of travel (flight itinerary)
- Proof of accommodation
- Financial statements to show you can support yourself
- Travel insurance (sometimes)
Requirements change a lot based on your citizenship and where you’re going. Some places have strict rules, others are way more chill.
Always check your destination’s embassy website for the latest info.
You’ll probably have to book an interview at the local embassy or consulate. Bring all your paperwork, neatly organized.
Different Types of Travel Visas
Visas come in all shapes depending on why you’re traveling. Here are the usual suspects:
Tourist Visas: For vacation or just exploring. Usually good for 30-90 days.
Business Visas: For meetings or conferences, but not actual work.
Student Visas: For people enrolled in schools abroad.
Work Visas: Needed if you’re getting a job in another country.
Immigration Visas: For folks moving permanently.
Some countries now offer electronic visas (e-visas) you can apply for online—super handy and way less hassle.
Visa fees jump around a lot, from $20 to $200 or more, depending on the country and visa type.
Short-Term Stay and Transit Visas
Not staying long? There are special visas for that:
Transit Visas: For passing through on your way somewhere else. Usually good for 24-72 hours. Some airports let you stay in a transit zone without a visa.
Short-Term Stay Visas: Great for quick business or tourist trips—just a few days or weeks. No need for a full 90-day visa.
Some places let you in without a visa for short trips. Americans, for example, can hang out in much of Europe for up to 90 days without one.
Double-check if you need a transit visa when booking flights with layovers. No one wants to get stuck at an airport over paperwork!
Determining Your Eligibility
Before you start filling out forms, figure out if you even need a visa. Your citizenship, destination country, and travel purpose all factor in.
Visa Exemption Rules
Some countries have deals that let you skip the visa. The U.S. Visa Waiver Program (VWP) lets citizens from around 40 countries visit for up to 90 days without a visa. If you’re from the UK, Japan, or Australia, you might be in luck.
Instead of a visa, you’ll need ESTA (Electronic System for Travel Authorization) approval, which you can get online for $21. Processing usually takes less than 72 hours.
Even if you’re exempt, you still need:
- A valid passport (usually 6+ months left)
- A return ticket
- Proof you won’t be working
- Evidence you can pay for your trip
Visa-free travel is usually just for tourism, business meetings, or short visits. If you want to stay longer or do something else, you’ll need a visa.
Who Needs a Travel Visa
You’ll need a visa if you’re not covered by an exemption or if you plan to do more than what exemption allows. Some common reasons:
- Studying abroad
- Working in another country
- Staying longer than the tourist limit
- Medical treatments
- Visiting certain regions
Your nationality plays a huge role in visa requirements. Travelers from countries with lower incomes or political instability usually face tougher rules.
The reason for your trip matters too. Even if you can visit visa-free as a tourist, you might need a different visa for business or conferences. Don’t just assume—always check the requirements for your exact situation.
Non-U.S. Citizens and U.S. Entry
If you’re not a U.S. citizen and want to visit America, you’ll deal with a different system. The U.S. has several visa types depending on why you’re coming.
Most tourists and business travelers apply for B-1/B-2 visas. Students go for F or M visas, and temporary workers have various H categories.
To get a U.S. visa, you need to show:
- Strong ties to your home country (like a job, family, or property)
- Enough money for your stay
- A clear plan to return home
You’ll fill out Form DS-160 online, pay a fee (usually $160+), and book an interview at a U.S. embassy or consulate. Wait times jump around based on location and season—sometimes a few days, sometimes months.
Green card holders don’t need visas to come back to the U.S., but they should carry their green card when traveling.
Gathering Required Documents
Getting your paperwork together is probably the most important part of applying for a travel visa. If you show up prepared, you’ll save yourself a ton of stress and delays.
General Application Documents
Every application starts with the basics. You’ll need a passport that’s valid for at least six months past your trip. Seriously, check your expiration date now—don’t get caught off guard!
For most U.S. visas, you’ll complete Form DS-160 online. It asks for your personal info, travel plans, and background.
You’ll also need your travel itinerary. Immigration officers want to see your flight details, hotel bookings, and what you’ll do while you’re there.
Bring proof you can pay for your trip—recent bank statements, pay stubs, or a letter from your employer. Most countries want to make sure you won’t work illegally or need public help.
Certificate of Eligibility and Supporting Materials
Depending on your visa, you might need a Certificate of Eligibility. Students need Form I-20 from their school; exchange visitors need Form DS-2019.
Other supporting docs can include:
- Invitation letter from a host, business, or school
- Employment verification showing your job at home
- Property documents proving you have something to come back to
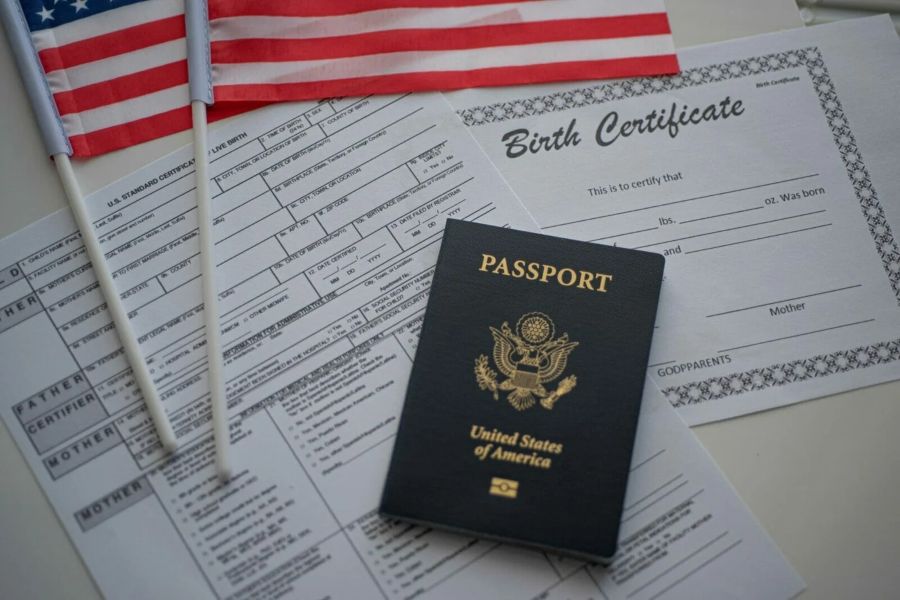
- Family documents like marriage or birth certificates
Photos are another must. Most countries want recent, passport-sized photos with specific backgrounds. Double-check the requirements so you don’t get rejected for something silly.
Special Cases: Super Visa and Refugee Travel Documents
Canada’s Super Visa lets parents and grandparents of citizens visit for up to two years at a time. You’ll need proof of private medical insurance from a Canadian company and a letter promising financial support from your child or grandchild.
Refugee Travel Documents help people who can’t get a passport from their home country. You’ll need proof of refugee status, any identity documents you have, and photos.
If you’re applying for a Refugee Travel Document, you might also need letters from humanitarian groups or proof of persecution. Authorities try to be flexible in these cases.
Starting Your Visa Application
Once you know which visa you need and have your documents, you’re ready to start. Most places prefer online applications these days, but some still use paper forms.
How to Apply for a Visa Online
These days, most countries let you apply online. Go to your destination’s official government or visa portal. Set up an account with your email and a password.
Fill out your personal details—full name, birthdate, passport info, travel plans, all that. Make sure your passport is valid for at least six months after your trip. Some places want even more time.
Have a digital photo ready that fits their specs—usually color, recent, and with a plain background.
Be honest about your trip purpose and plans. If your answers don’t match your documents, you could get delayed or denied.
Paper Applications and In-Person Options
Some countries still want paper forms. You can download these from the embassy website or pick them up in person. Fill them out in black ink and block letters—no cursive.
Check every section before you submit. Missing info or unsigned forms are common reasons for rejection. Attach all your supporting docs:
- Passport copies
- Photos (usually 2-4)
- Proof of insurance
- Flight details
- Hotel confirmations
Sometimes, you’ll need to apply in person at a consulate or visa center. They might take your fingerprints or a photo. Book your appointment early, especially if you’re traveling in peak season.
If you don’t speak English, consider bringing a translator. Some visa centers offer this service for a fee.
Navigating Country-Specific Application Processes
Visa rules can be wildly different depending on where you’re going. Each country has its own steps, paperwork, and timelines.
Applying to Visit the United States
Before you plan your U.S. trip, make sure your passport will be good for at least six months after you leave. Immigration officers will definitely check.
Start your application at least six months ahead if you can. The U.S. Department of State runs the whole visa process through embassies and consulates.
To get a B1 (business) or B2 (tourist) visa:
- Fill out the DS-160 online
- Pay your fee
- Schedule an interview at the embassy
- Gather your documents:
- Valid passport
- Confirmation page
- Payment receipt
- Photo (if you didn’t upload one)
- Proof you’ll return home
If you’re applying from a country that isn’t your home, check with the embassy first—they don’t all accept third-country applicants.
Guidance for Visiting Canada on Business
Canada makes it pretty easy for business travelers. Depending on your nationality, you’ll need either an Electronic Travel Authorization (eTA) or a visitor visa.
For business trips, you should show:
- Your visit is temporary
- You’ve got enough money for your stay
- You have ties at home (job, property, family)
- You’ll leave when your visit is over
Include proof of your business activities—invitation letters, conference info, meeting schedules. Processing times differ, but usually it’s a few days to a few weeks.
Even if you have a U.S. green card, you’ll need an eTA to fly to Canada, though you can drive in without one. Apply online through the official Canadian government website—don’t get scammed by third-party sites.
Visa Interview Preparation

The visa interview can be nerve-wracking, but it’s a key part of the process. If you show up prepared, you’ll feel way more confident.
Common Interview Questions
Consular officers usually ask about your ties to your home country. They want to know you’ll actually leave when your trip’s over. Be ready to talk about your job, family, and property.
They’ll want details on why you’re traveling. Have a clear, specific answer and know your itinerary.
Expect questions about your finances, too. Bring bank statements or pay stubs to prove you can pay your way.
Officers often ask about your return plans. Have a solid reason—like going back to your job or family—so you can answer confidently.
Tips for a Successful Visa Interview
Try to speak English during your interview if you can. It’s not strictly required, but it usually helps things go more smoothly. If English isn’t your strong suit, maybe run through some typical answers ahead of time to get comfortable.
Dress professionally for your interview. First impressions really do stick, so at least go with business casual.
Keep your answers short and direct. Consular officers talk to a lot of people every day, so they appreciate it when you get to the point.
Bring supporting documents even if no one specifically asked for them. These might include:
- Employment letter
- Property ownership papers
- Family photos
- Travel itinerary
- Bank statements
Answer the questions yourself during the interview. If someone else tries to speak for you, it doesn’t look great. If your family comes along, ask them to wait while you handle the questions.
Make sure you know how this trip fits into your bigger plans. Be ready to explain why this is the right time for you to travel.
Understanding Visa Approval and Denial
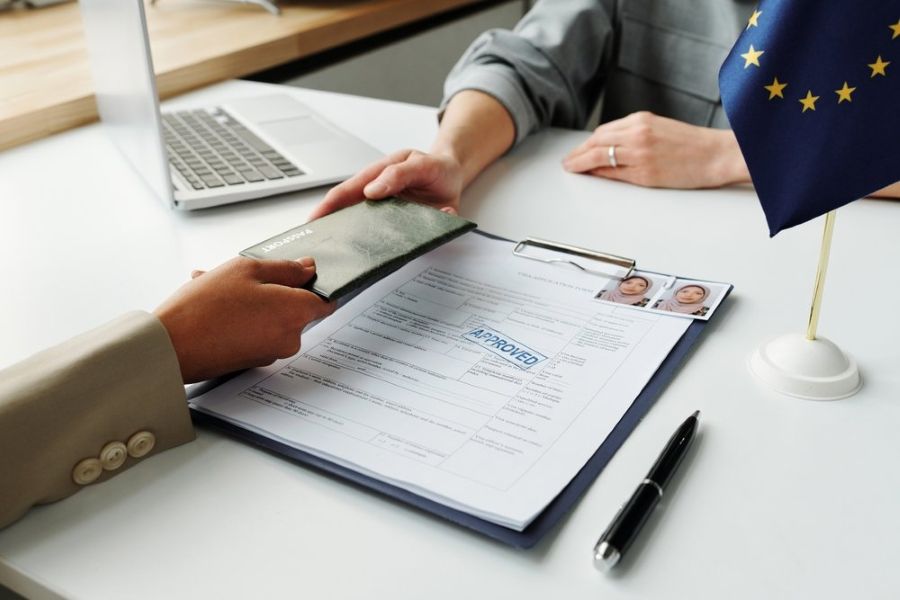
The visa approval process can feel complicated and, honestly, a bit unpredictable. If you know what to expect and how to handle a possible refusal, you’ll save yourself plenty of hassle when planning your trip.
Processing Times and Notifications
Most U.S. visas get approved and issued within seven to ten business days after your interview. Some cases take longer, especially if they need extra background checks. Your nationality, visa type, and current application volumes all play a role in how long it takes.
You’ll usually get notified about your visa status by email or through the online portal where you applied. Some consulates also send text updates if you sign up for them.
Don’t freak out if your application takes a while! A delay doesn’t mean a denial. Sometimes the officer just needs more info before deciding. If your travel date is coming up and you still haven’t heard anything, reach out to the embassy or consulate where you applied.
What to Do If Refused
If the consular officer denies your visa application, they’ll give you a reason. Some common reasons are:
- Incomplete application materials
- Not enough proof you’ll return home
- Unclear travel purpose
- Previous immigration issues
Try not to take the denial personally. Lots of people get approved on their second try. You can usually reapply right away, but it’s smarter to fix whatever caused the denial first.
Before you reapply, collect documents that directly address the reason you got refused. For example, if they doubted your intent to return, gather stronger proof of your job, property, or family ties at home.
If your case is tricky or you’ve been denied a few times, it might be worth talking to an immigration attorney.
Maintaining Your Visa Status During Travel
When you travel abroad on a visa, you need to plan ahead to keep your status safe. The right paperwork and good timing are key if you want to come back to the U.S. without trouble.
Travel Documentation While Abroad
Always carry your current passport, and make sure it’s valid for at least six months past your planned return date. If you’re a student, bring your SEVIS Form I-20 signed for travel by your Designated School Official (DSO). Your DSO should check your SEVIS record before you leave.
Non-immigrants need to have their visa documents, like Form I-94 and any approval notices. It’s a good idea to keep digital copies of everything in the cloud, just in case.
Leaving the U.S. can sometimes affect your visa status. Check in with your DSO or immigration advisor before you make travel plans. They can flag any possible issues tied to your visa type.
Extending or Renewing Your Visa
If you leave the U.S. and your entry visa (the sticker in your passport) expires while you’re gone, you’ll need to apply for a new one at a U.S. Embassy or Consulate before coming back.
Plan ahead for renewals because the process can take weeks or even months, depending on where you are and your nationality. Schedule your appointment early through the embassy’s website.
If you want to extend your stay while still in the U.S., submit Form I-539 before your current status runs out. Not all visas can be extended this way, so double-check the rules first.
Need more time for your program? Ask your sponsor or school for an extension. Students should work with their DSO to update their program in SEVIS before their I-20 expires.
Frequently Asked Questions
Visa applications can be confusing, no doubt about it. It helps to get answers to the questions everyone else is asking, too.
What are the steps to apply for a tourist visa to the USA?
To apply for a U.S. tourist visa, start by checking if you actually need one—some countries are in the Visa Waiver Program.
Fill out the DS-160 online form with your details and travel plans. Pay the non-refundable visa fee, which is usually around $160 for tourists.
Book your visa interview at the U.S. embassy or consulate in your country. Gather all your documents before the big day.
Go to your interview, where a consular officer will review your application and ask about your trip. They’ll usually decide on your visa right then and there.
Can you detail the required documents for a tourist visa application?
You’ll need a valid passport that’s good for at least six months after your planned stay. Bring the printed confirmation page from your DS-160 and your appointment letter.
If you didn’t upload a photo with your DS-160, bring a recent one that meets the requirements.
Don’t forget proof you paid the visa fee and something that shows you plan to return home.
Financial documents are important—bank statements, pay stubs, or proof of property work well. Bring anything that shows strong ties to your home country, like a job letter or family connections.
How does one schedule a U.S. visa appointment?
After you finish your DS-160, go to the website for the U.S. embassy or consulate where you want to apply. Each place has its own system.
Make an account on the appointment site and enter your info and DS-160 confirmation number. Pay your visa fee if you haven’t already.
Pick a date and time for your interview. Wait times can be all over the place depending on where and when you apply, so try to book early. You’ll get a confirmation with instructions for your appointment.
Could you explain what the DS-160 form is and how to complete it?
The DS-160 is the online form every U.S. visa applicant needs to fill out. It asks for your personal info, travel plans, and background.
Start by picking the embassy or consulate where you’ll apply. Fill in your details and travel info honestly. The form takes about 90 minutes, and you have to finish it in one go.
Upload a photo that fits the requirements. When you’re done, submit the form and print the confirmation page with your application ID. You’ll need that for your interview.
What is the process for applying for a visa online for U.S. travel?
Go to the official U.S. Department of State website to get the DS-160 form. Make an account and pick your visa type based on why you’re traveling.
Fill out every section with accurate details about yourself, your plans, and your background. Being thorough and honest really matters—mistakes or inconsistencies can slow things down or get you denied.
After you submit the DS-160, pay your fee using the approved methods. Use your payment receipt and DS-160 confirmation to book your visa interview at your local U.S. embassy or consulate.
Where can travelers find information on countries that require a visa for entry?
Start by checking the official website of your destination country’s foreign ministry or immigration department. You’ll usually find the latest visa requirements there, and these sources tailor information based on your citizenship.
If you’re a U.S. citizen, travel.state.gov has a ton of details about traveling abroad, including country-by-country visa info. Not from the U.S.? You might want to use tools from IATA’s Travel Centre or Sherpa—they make it pretty easy to figure out what you need.
Visa requirements can change all the time. Even if you’ve been to a country before, double-check the rules at least three or four months before your trip so you’ve got plenty of time to sort out your application.
Leave a Reply